Follow along with the video here:
Introduction
Have you always wanted to create a Discord bot but didn’t know where to start? Do you want to show off to your friends by adding your own custom bot to your servers? Look no further because today I’ll be showing you the easy way to make a Discord bot and even host it for free! Let’s jump right in.
Discord Developer Application Page
The first thing you want to do is visit the developer application page. If you’re logged in, you should see this page:
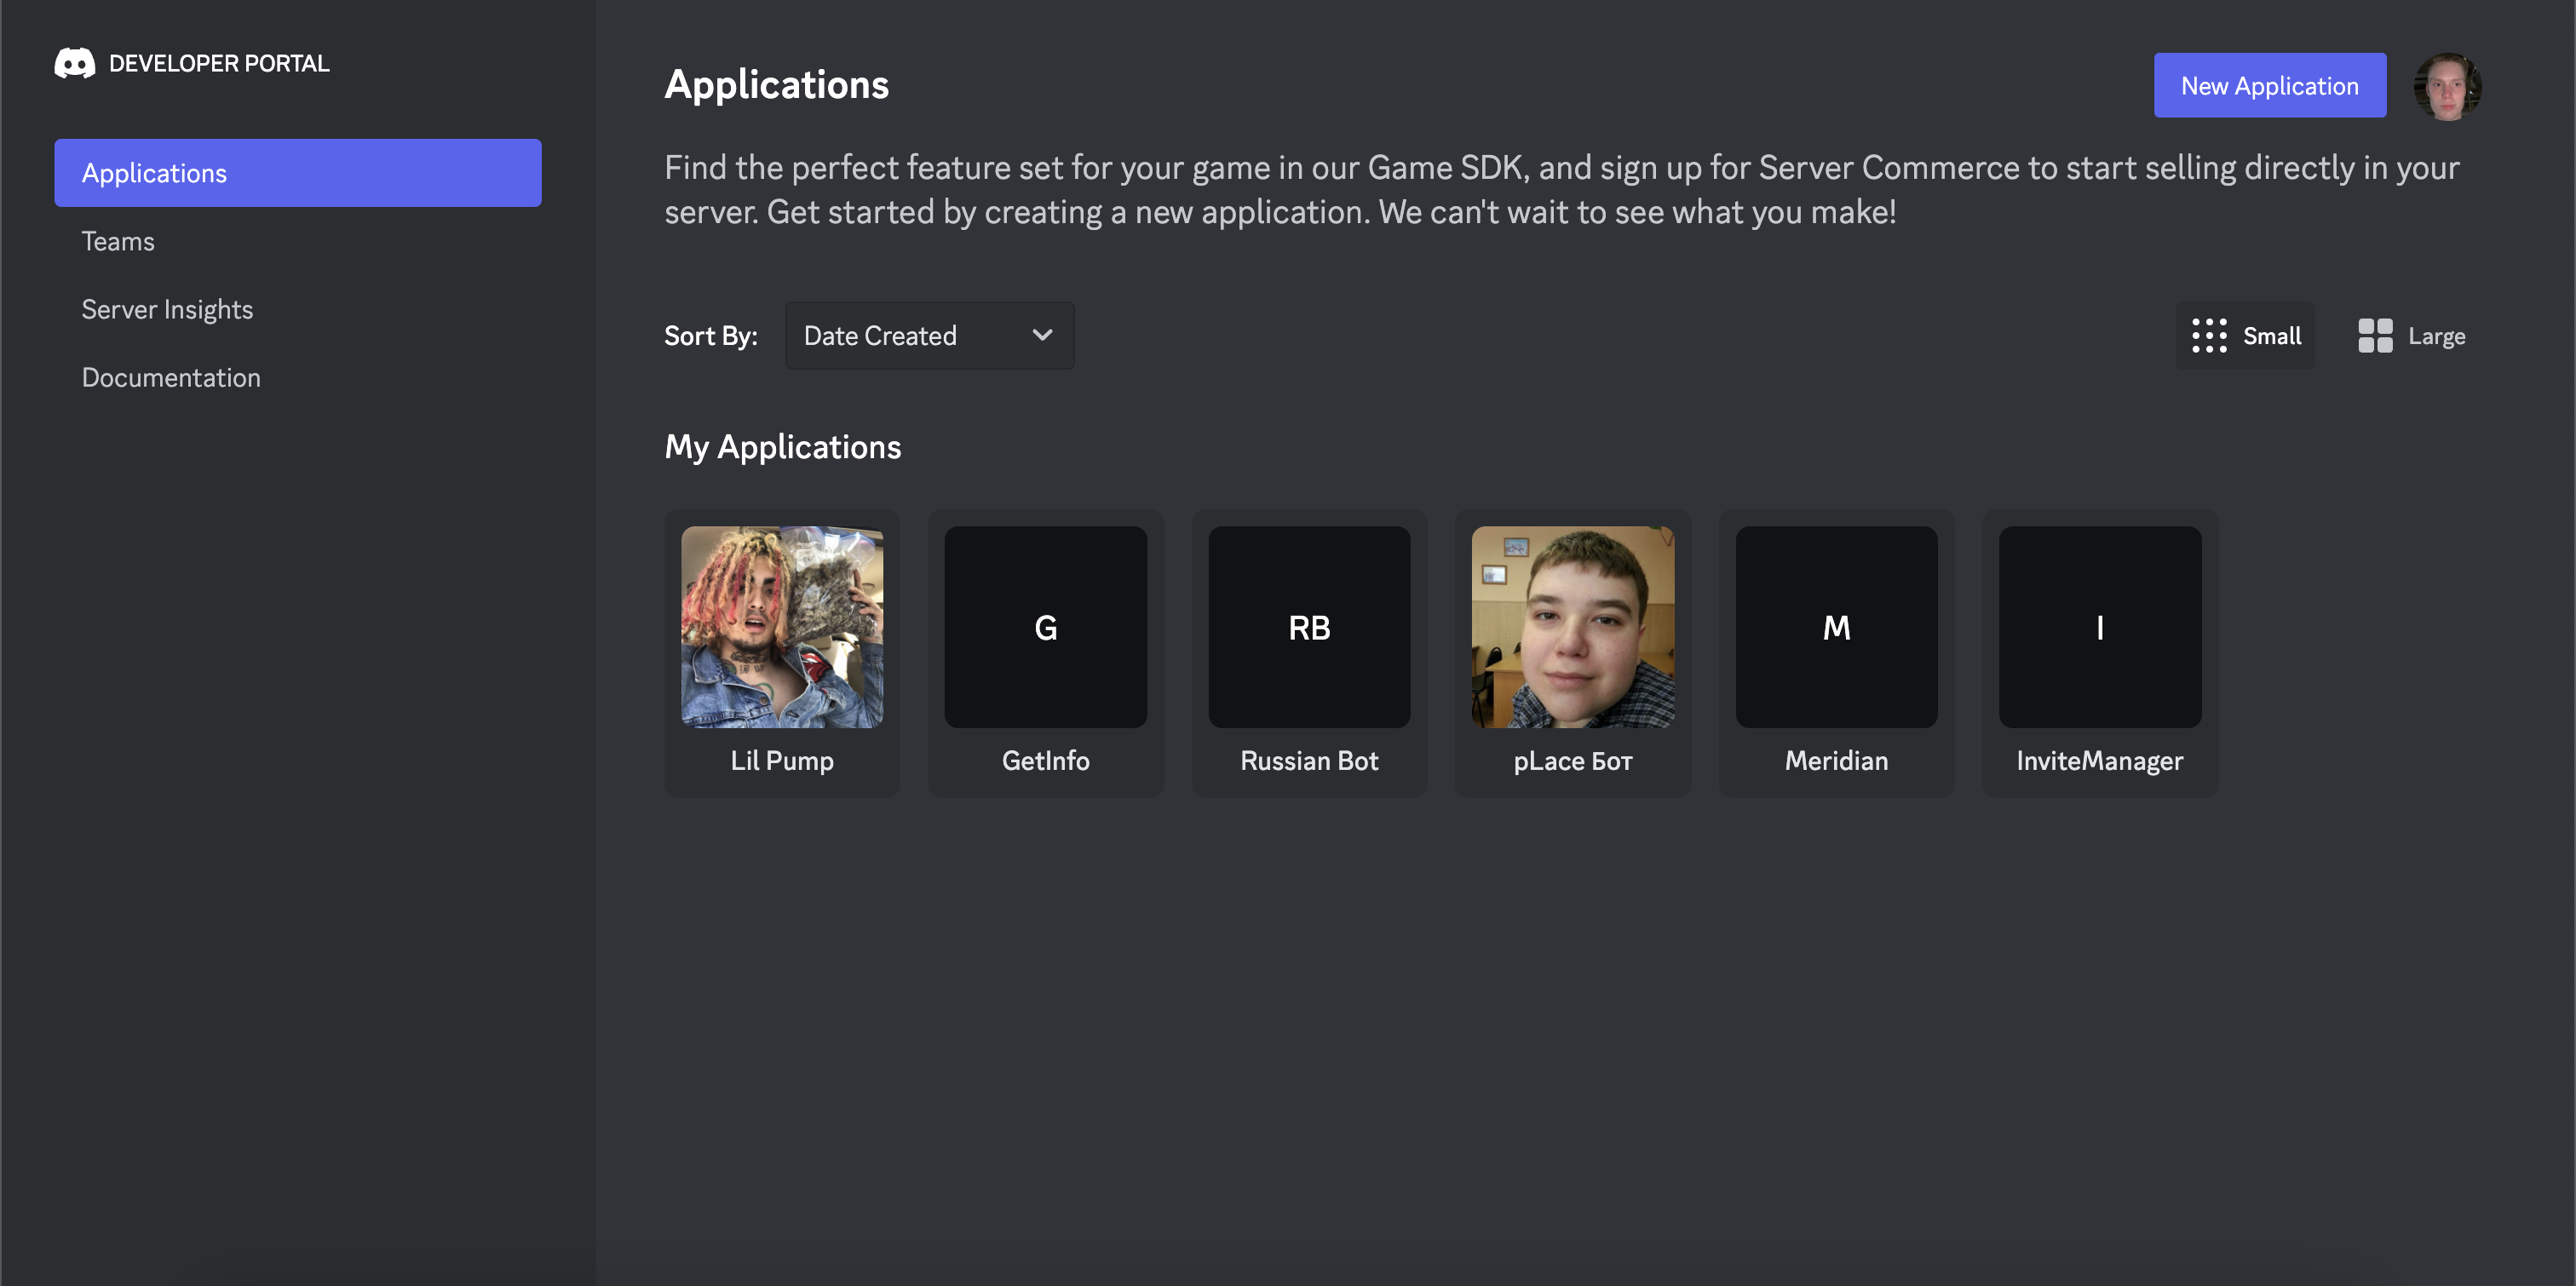
If you don’t see this page, login and Discord should redirect you to it. On the top right of the page, click on the “New Application” button. Give it a name you want and click create. Make sure to give it a semi-unique name, otherwise Discord won’t let you create a bot. After that, you’ll see this page:
Head over to the Bot tab on the left and click add bot. After clicking yes, it might ask you for an authentication code if you have 2 factor authentication enabled. If you want to give your bot a profile picture, you can upload one here. This picture is the one that will show up as the profile picture for your discord bot in the server user list and whenever it sends a message. If you want to make your bot private, uncheck the public bot option. If it’s checked, it will allow anyone to add your bot to their server which you might not want.
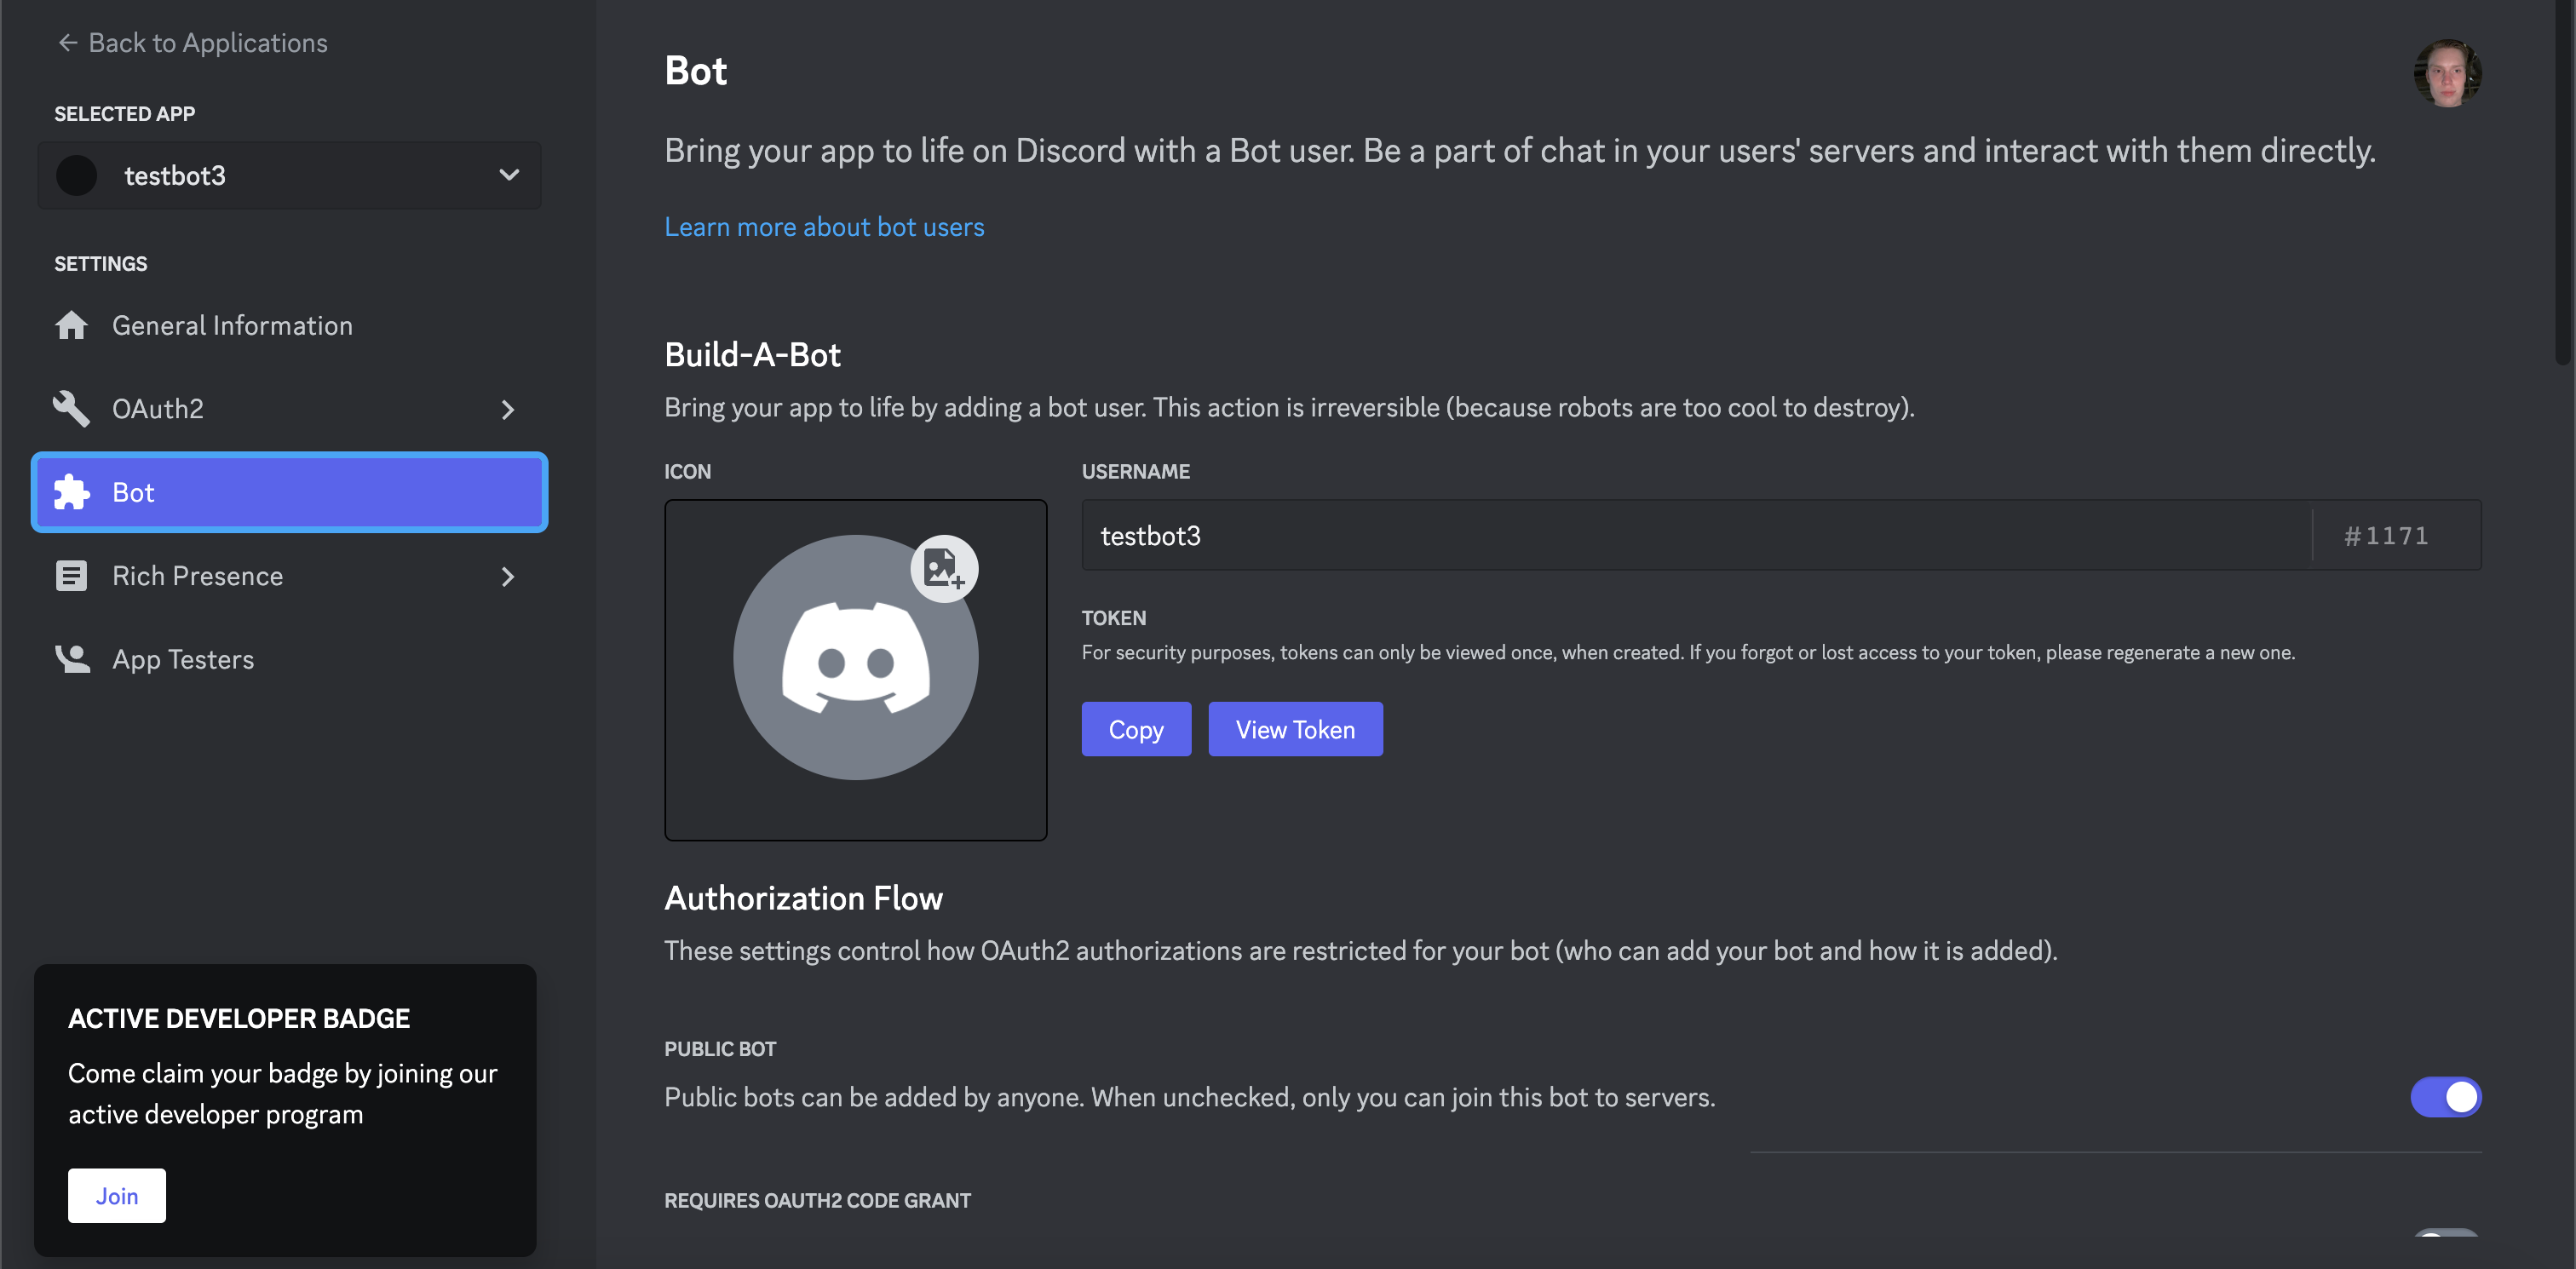
Save the Token
The next step is to copy your bots token and store it somewhere safe. If you lose this, you can regenerate it again but try not to lose it.
Invite Bot to Server
Now, let’s invite our newly created bot to our server. Click on the OAuth tab on the left and then URL generator. Check the bot scope and you’ll see permissions for the bot pop up. This is where you will choose what access the bot will have on your server.
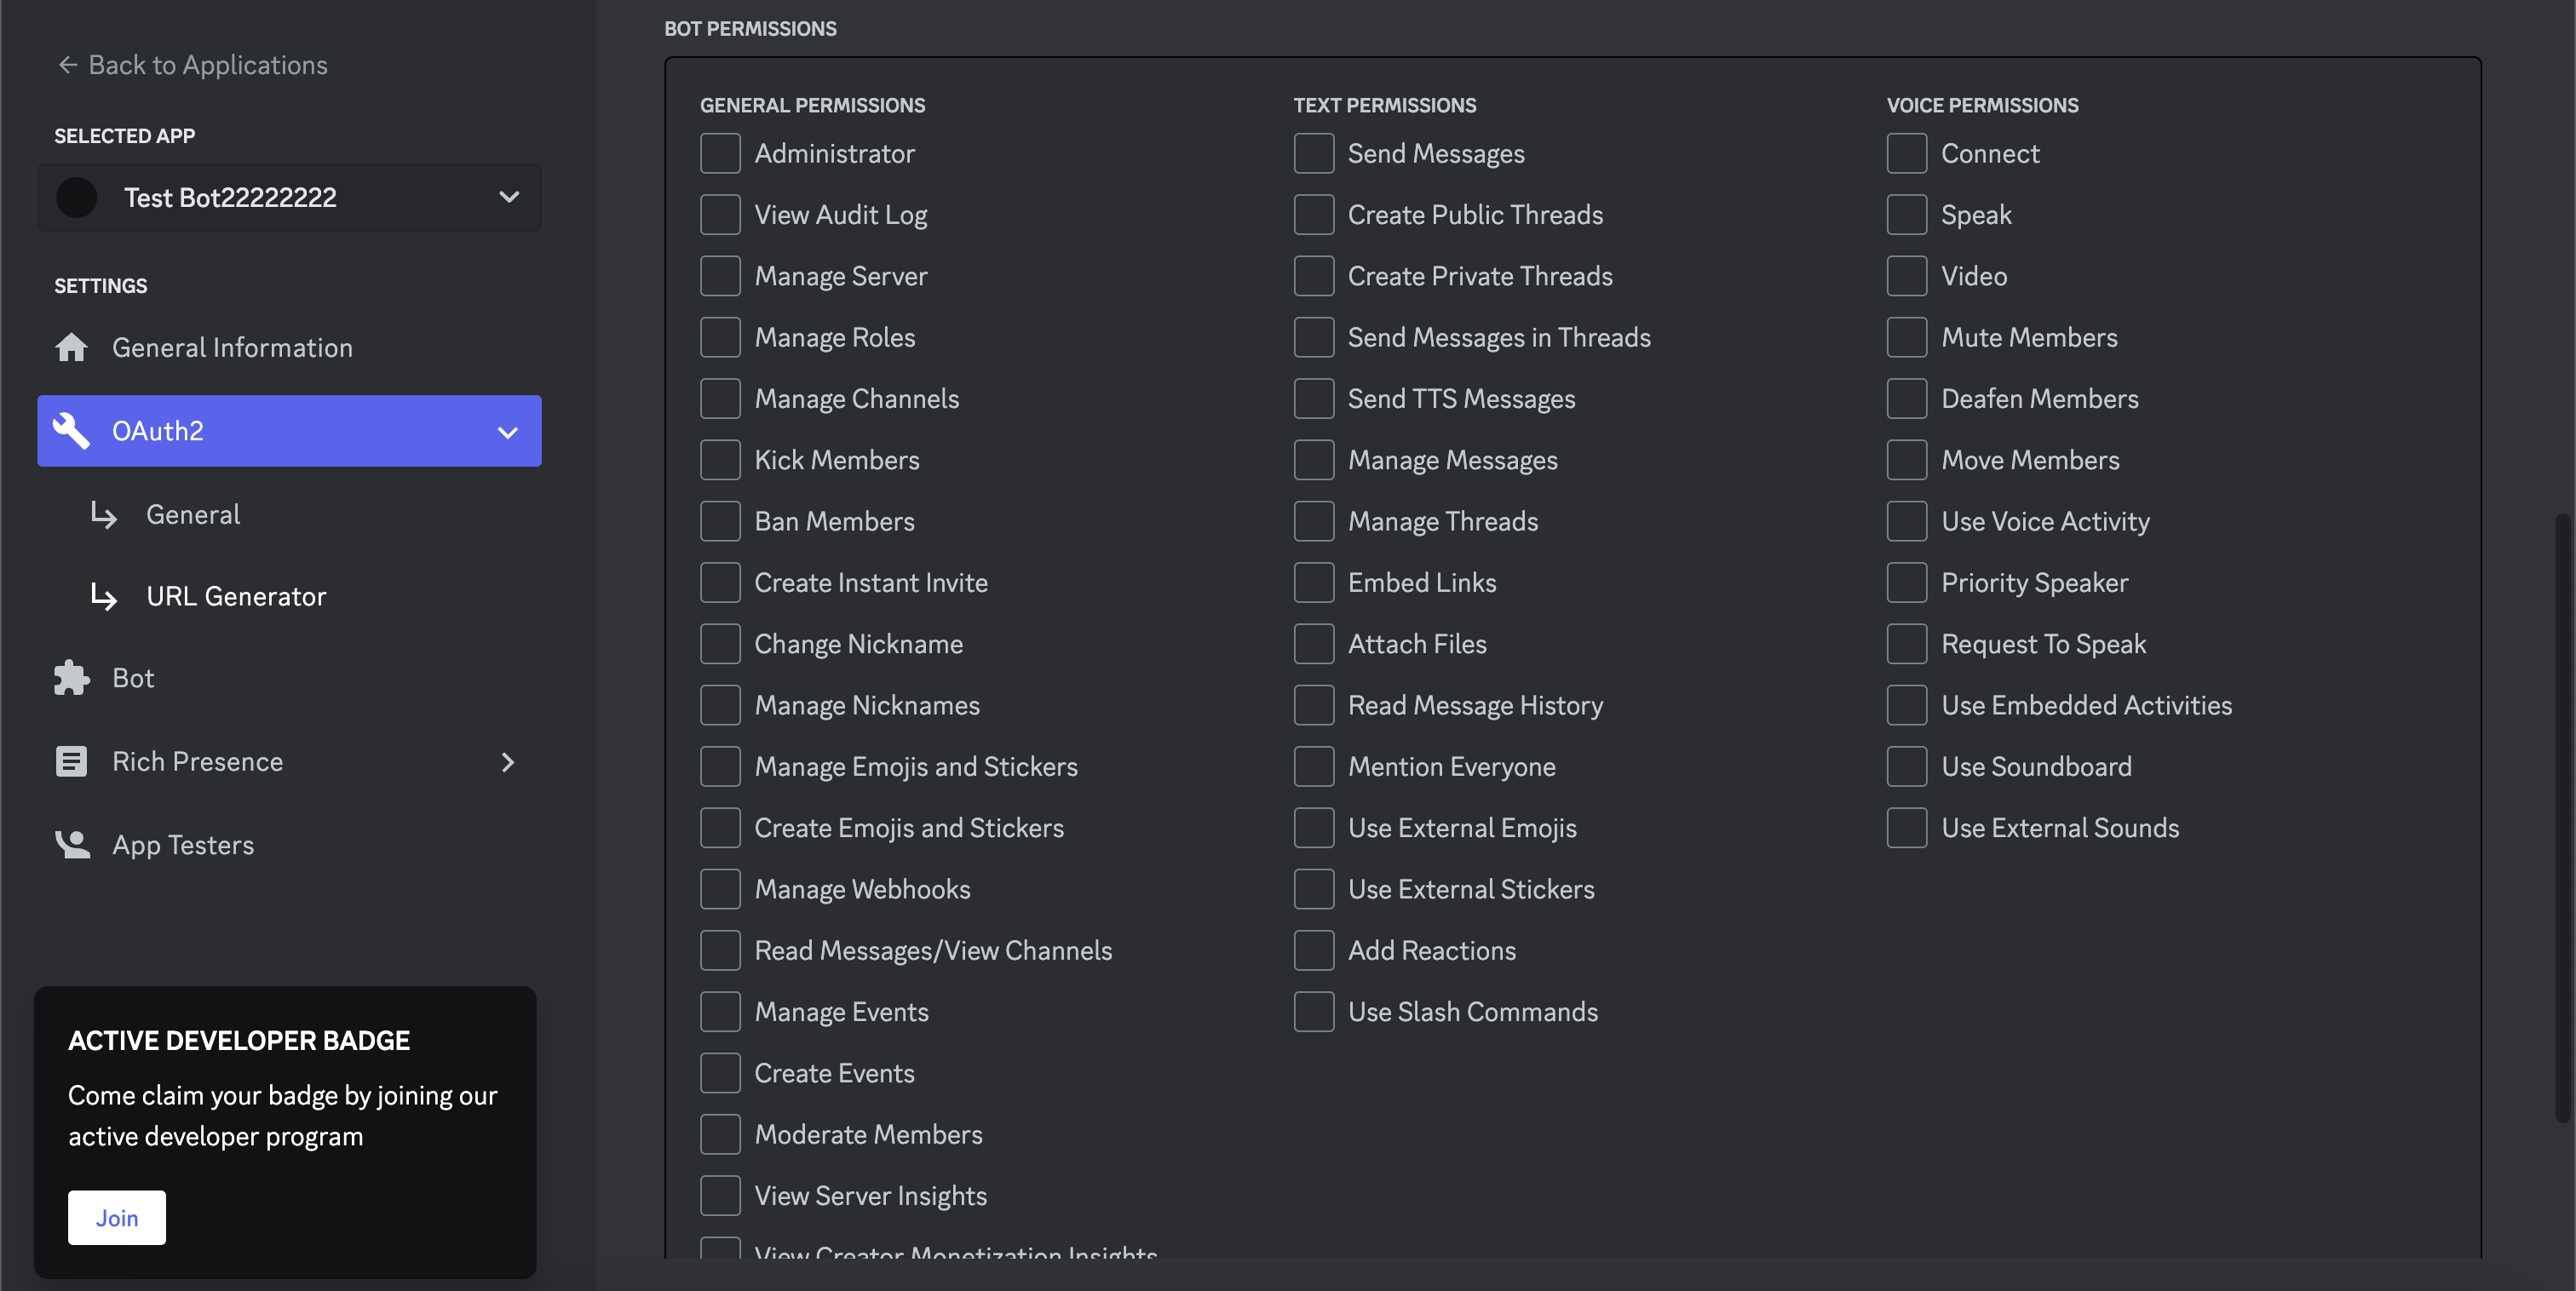
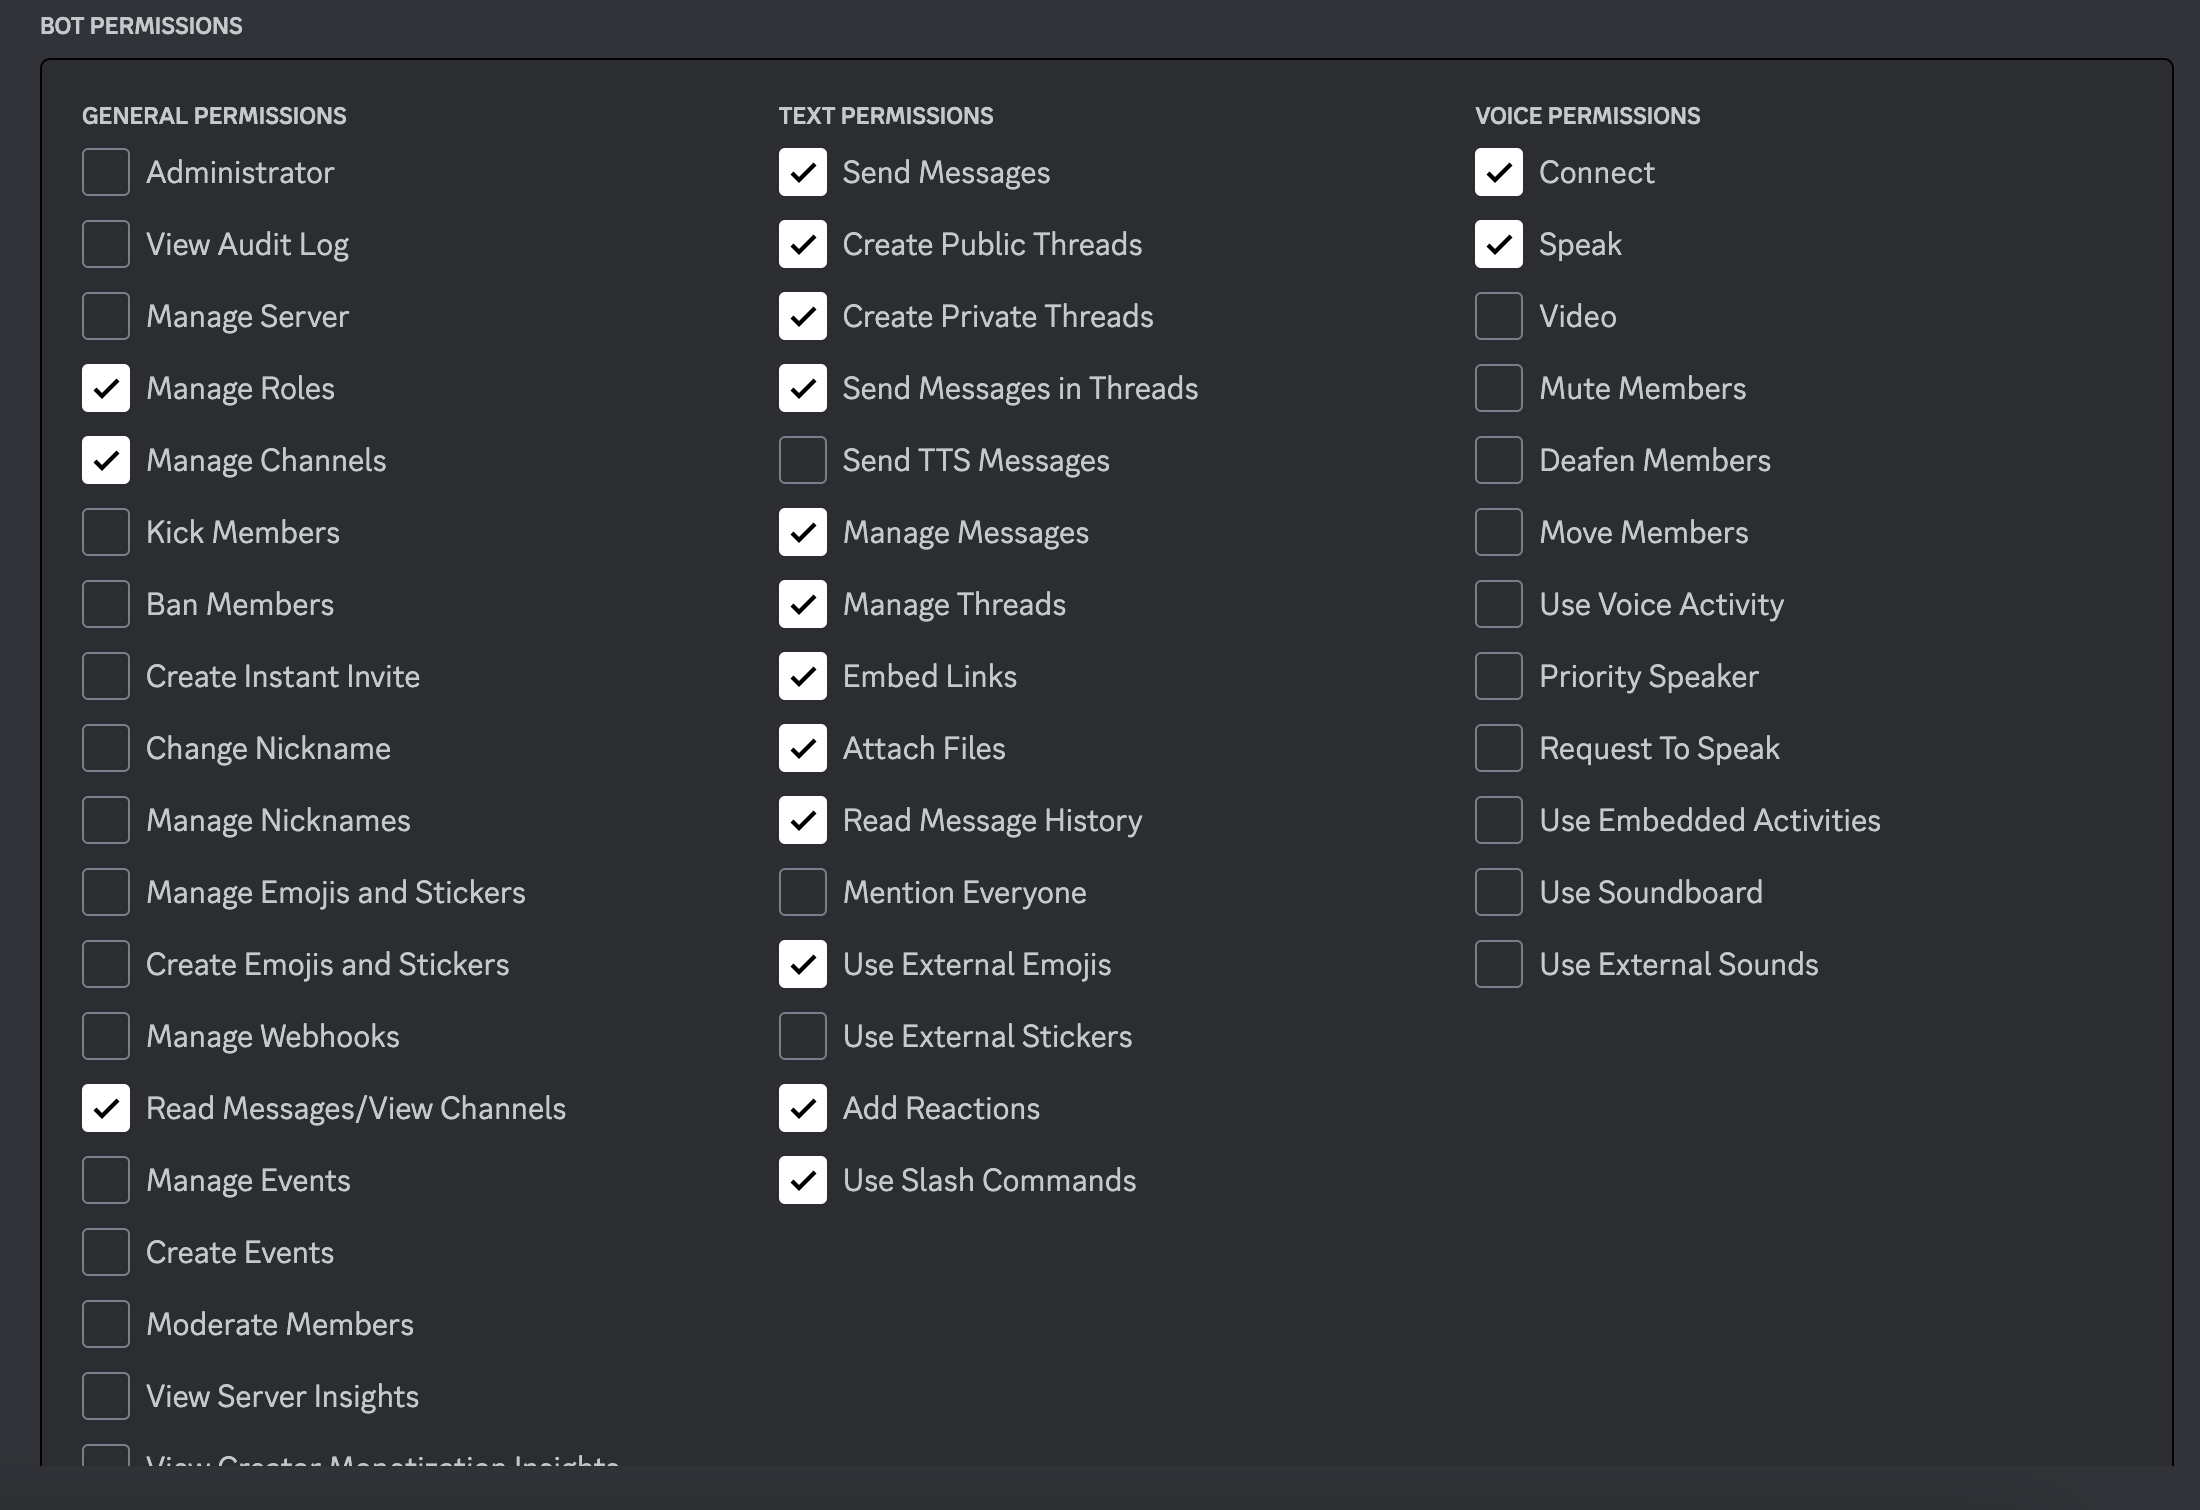
Giving it an administrator permission will encompass all permissions but is generally unsafe because if someone hacks your bot, they will be able to do more damage to your server. For the purpose of this video, these are the permissions I’ll be using:
At the bottom of the page, you’ll see a generated URL. This is the link you will use to invite your bot to your managed servers.

Copy paste the link and invite your bot to the server you want. There we go! We’re halfway there.
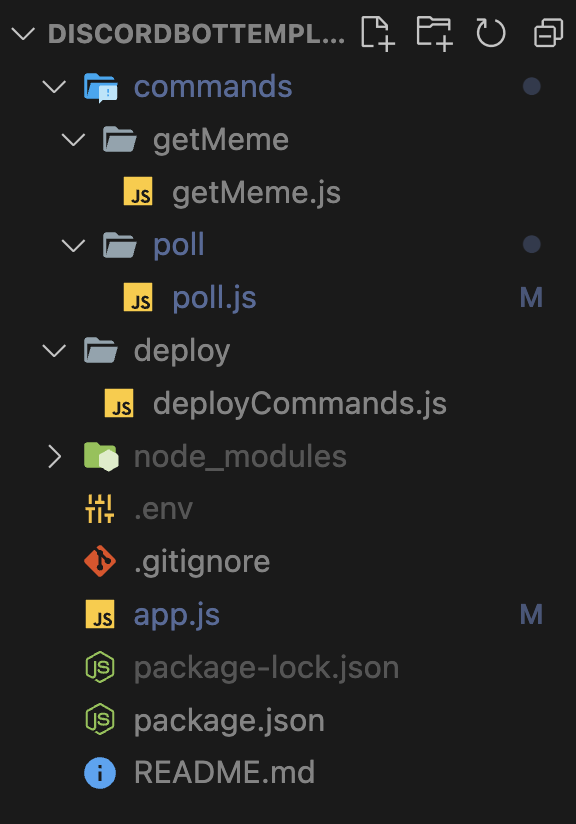
Github for My Discord Bot Template
This Github repo contains the bot I’ll be using for the video. You are free to do whatever you want with this code. This bot has a couple of basic commands to get you started. In the following section, I will show you how to add your own command.
You can use this bot as a starting point and build upon it, adding any functionality you want. The language we’ll be using for this is Javascript since Discord is web based.
Start by git cloning my repo.
Coding Bot Functionality
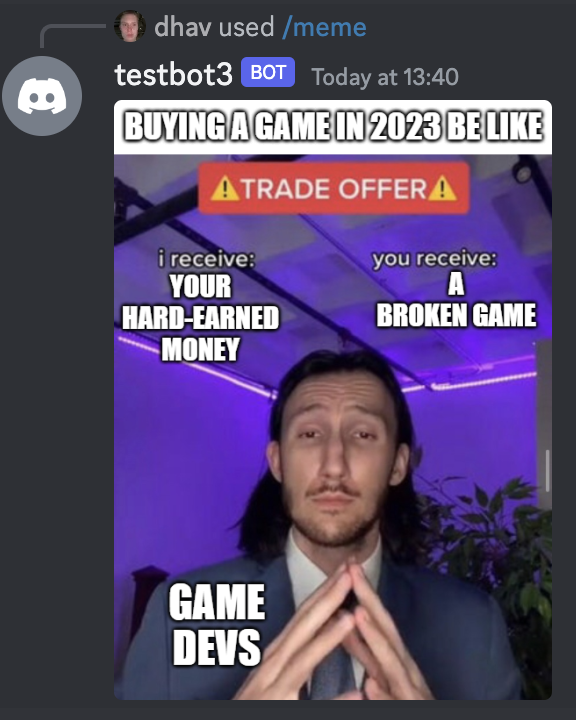
Right now the bot has 1 command. It is
/meme
where it replies with a random meme from an api:
Installing packages
Before you can add your own commands, you need to install the required packages. For this, simply type this command in the main bot template directory:
npm install
Adding your Bot Token and Client ID
Before we can code additional commands, we need to provide the template with the correct env variables. To do this, create a .env in the root directory of the template you cloned.
It should look something like this:
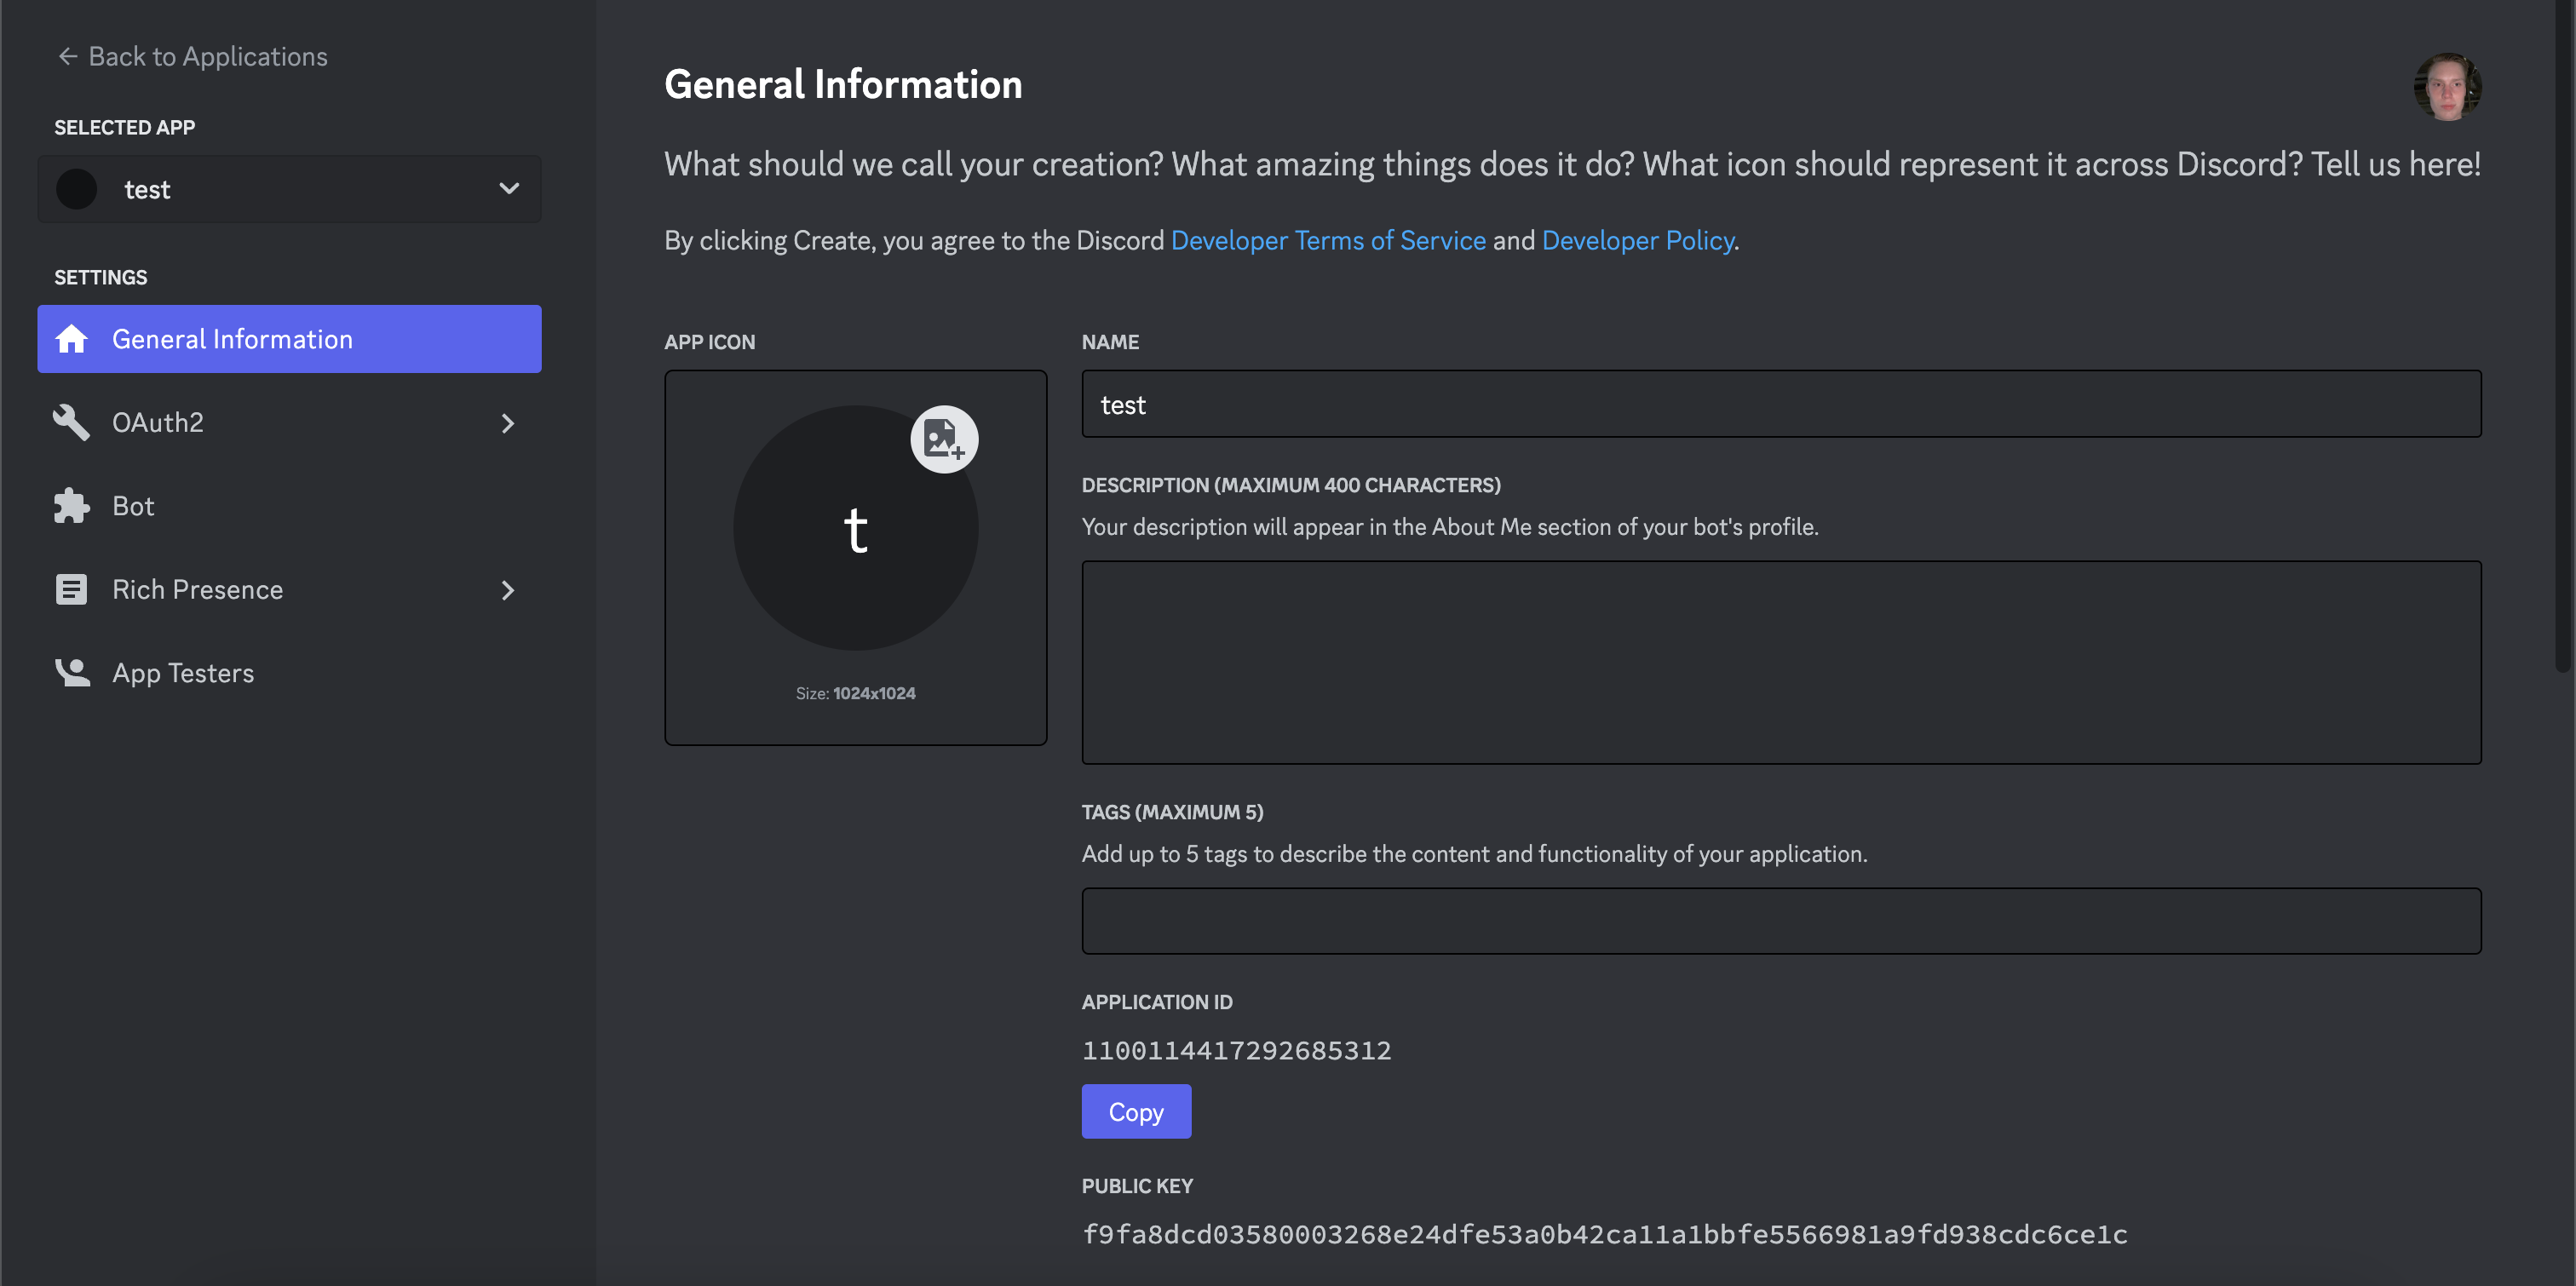
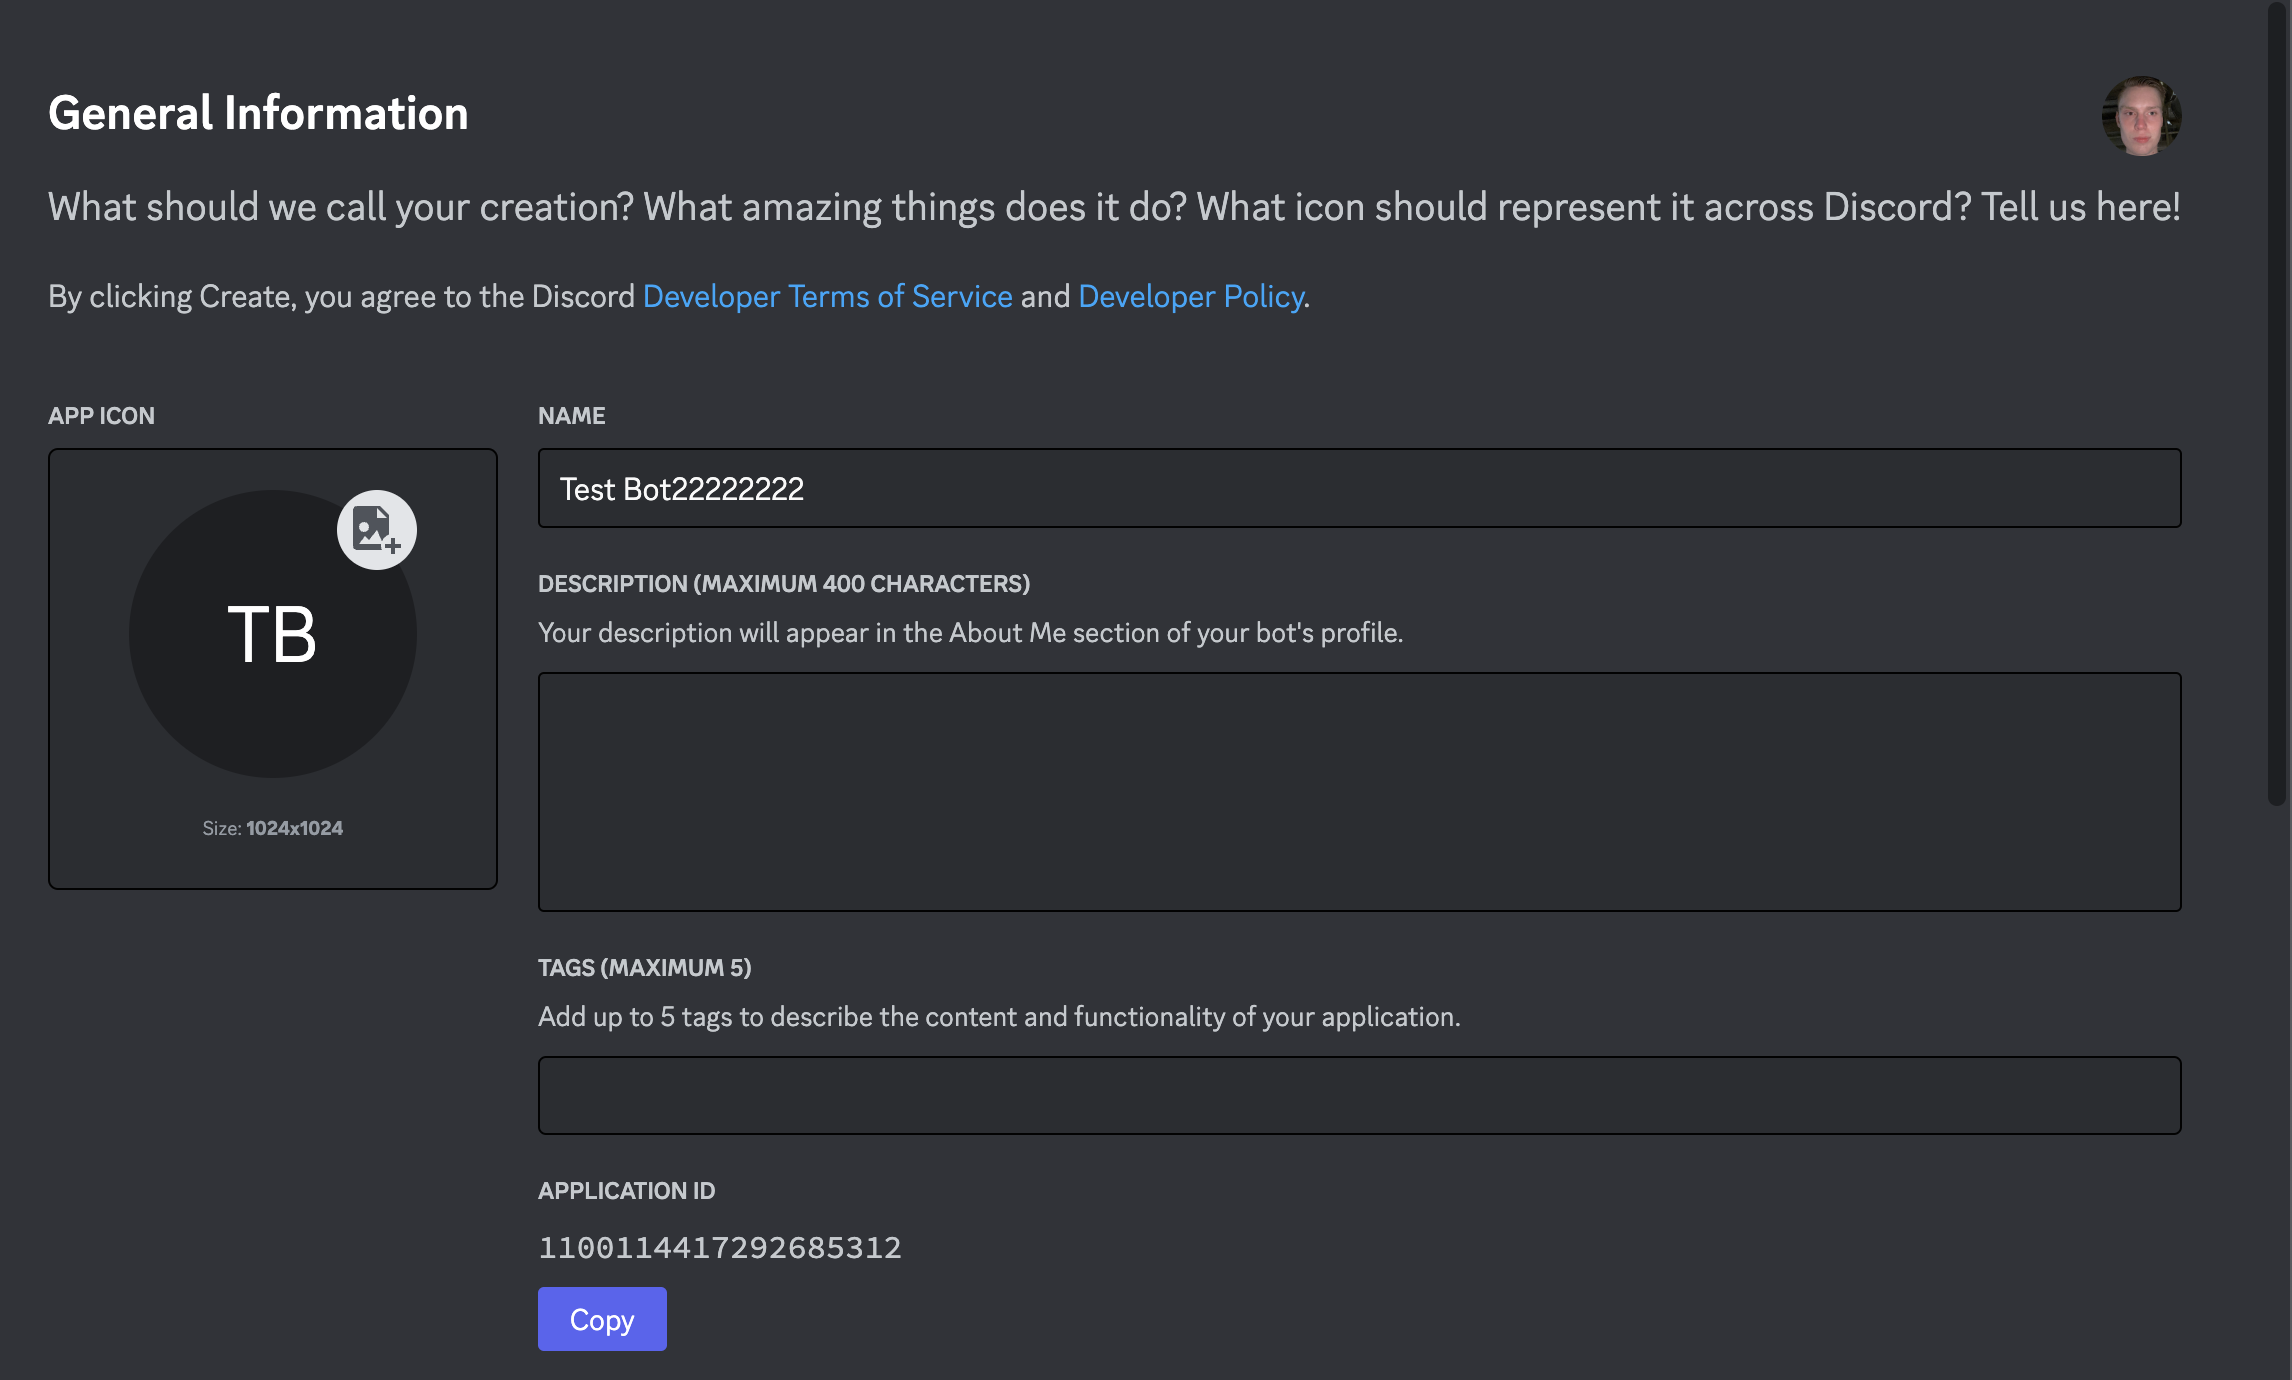
Inside the .env file add a CLIENT_TOKEN variable and paste your bot token we copied earlier as the value. Do the same for a CLIENT_ID variable. For this one, copy the Application ID from the general information page of your bot here at the bottom:
Your .env file should like this with your own values:

Adding Your Own Commands
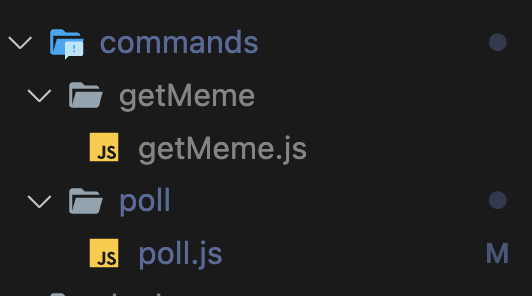
To add your own command, we are going to create a subfolder for that command under our commands folder. Name this what you want your command to be. For this example, I’ll be adding a poll function to our bot. This will allow the user to start a poll using the bot.
Now that I have the poll subfolder, I’m going to create a javascript file with the same name. I’m going to be using the meme function as a starting point for this. Let’s copy over the code from that file. Our poll command is going to have an extra parameter for the title. To add this, I’m going to tack on .addStringOption and give it a name and description. For now the poll will only have yes or no responses for simplicity. For a challenge, you can add a parameter to change the type of poll. For yes or no we will have the bot attach two reactions. Now you can see we can create a poll and the bot will attach the yes and no emojis. As an additional challenge, try to add a parameter called time that will expire the poll then print out the final votes.
Here is all the code for our poll slash command:
const { SlashCommandBuilder } = require('discord.js');

module.exports = {
	data: new SlashCommandBuilder()
		.setName('poll')
		.setDescription('Creates a poll')
        .addStringOption(option =>
            option.setName('title')
            .setDescription('The title to use for the poll')
            .setRequired(true)),
	async execute(interaction) {
        //Get our title string
        const title = interaction.options.getString('title');
        //Build the poll string
        const pollString = `Poll: ${title}\nTo vote, select ✅ for yes and ❌ for no`;
        const poll = await interaction.reply({content: pollString, fetchReply: true});
        //React with yes or no emoji
        poll.react('✅');
        poll.react('❌');
	},
};
My bot template already contains all the code needed to detect and refresh newly added commands so all that’s left now is to launch the bot.
Type
node app.js
to start the bot.
If all went well, you should see this:

So that’s how you would add an additional command to your bot. The possibilities are endless. Leave a comment on my video if you need any help with a specific implementation.
Hosting the Bot for Free
Now, the final part. How do you host this bot for free? The simplest way is to have your app running 24/7 on your local computer. The only problem with this is that you will have to run your computer 24/7. I will update this blog with a better way to host soon, but for now I’ll be showing you how to self host.
If you run node app.js and keep your computer on, this will work for a bit, but if your bot has an error it will shut down and you would have to restart it manually. To fix this issue, I will show you how to automatically restart your bot if it crashes. All you have to do is install a package called nodemon.
To do this, open your terminal and type npm install -g nodemon. This will install nodemon globally. Now instead of starting your app with node app.js, you want to run nodemon app.js. This will start your app in a continuous loop so if it ever crashes, nodemon will start it again.
Conclusion
So yeah, that’s how you would create your own bot and host it for free. If you learned something and or enjoyed this tutorial, make sure to sign up for my email list and watch my other Youtube videos here. Thank you for being here :)
Ads